
For the second part in this series I have a couple of videos showing you how to export a face of your part and a sketch in your part as a dxf/dwg file. It is very simple and so don’t have a lot to say about it. However, people often use it for its simplicity, since you can quickly knock up a cut file and fire it off to your CAM programmer.
Part 2 Export Face/Sketch As
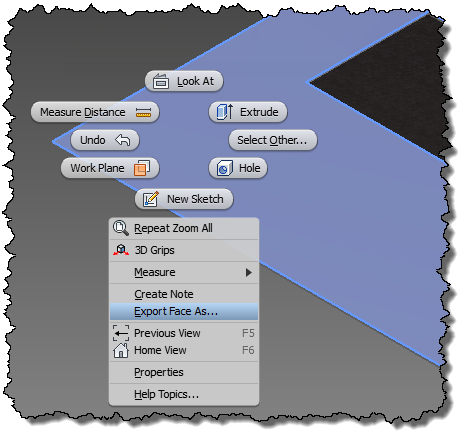
Export Face
Export Face Pros:
- Quick and Simple
- Some AutoCAD export options for objects & file type
- Resulting geometry are closed polylines

Export Face Cons:
- Too simple
- Zero layer mapping options like there are in the Flat Pattern tool
- Doesn’t capture geometry of the entire part, such as rebates, bevels and hidden features etc.
- No ability to include text in the export for engraving
- No ability to colour the features by type for export
Export Sketch
Export Sketch Pros:
- Quick and Simple
- Some AutoCAD export options for objects & file type
- The sketch tools allow you to project through geometry which would have been missing in the Face export
- Resulting geometry are closed polylines

Export Sketch Cons:
- Zero layer mapping options like there are in the Flat Pattern tool
- No ability to export text for engraving
- No ability to colour the features by type for export
To clarify the engraving text issue. In both situations above you could emboss the text and have it exported with the face or sketch. However, this results in a text outline instead of a text centre line. As you know this is very inefficient for CNC machines to cut when the number is only there for practical rather than aesthetic reasons.
Related Posts:
Part 4 Autodesk University 2013 Class MA2274
You can follow Scott on Twitter @scottmoyse
[subscribe2]


